Chiikawa Weeding Tycoon Weed Journal Completion Guide
Log every species, chase golden weeds, and farm weather windows without wasting bag space.
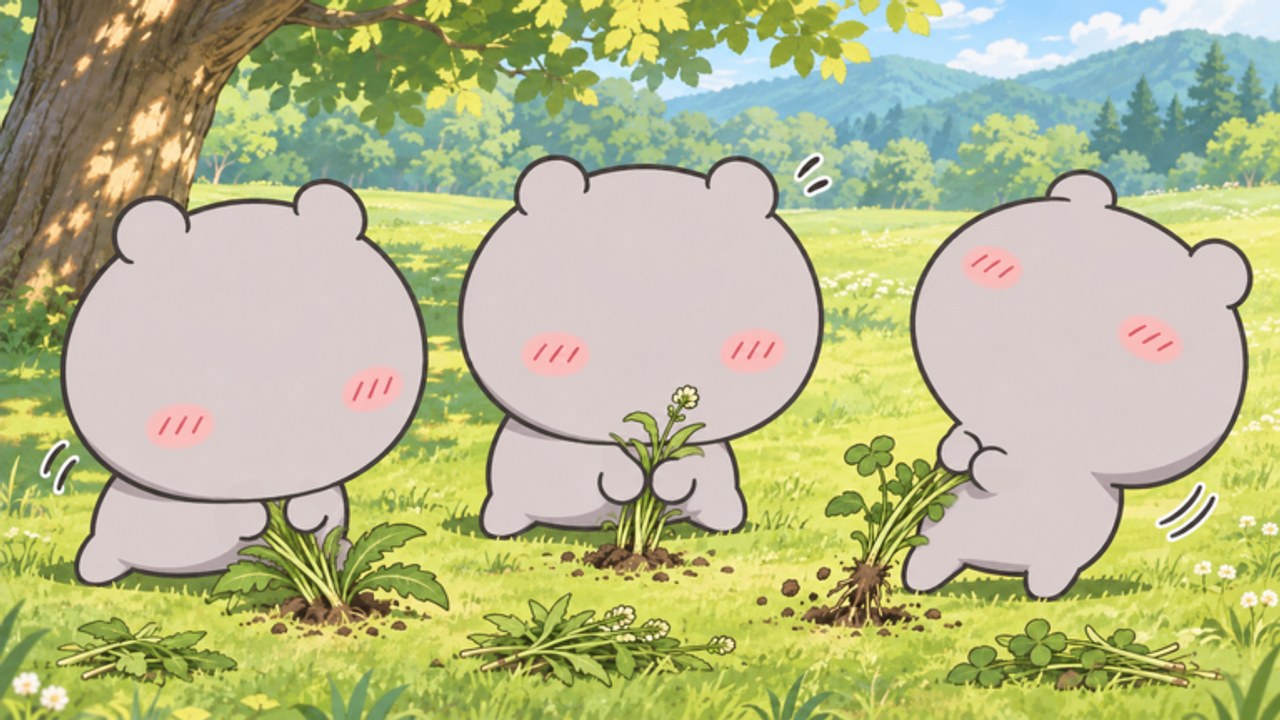
The Weed Journal is the collector’s spine of Chiikawa Weeding Tycoon. Yen from the Grass stall funds food, baths, and furniture, but the journal is how you learn which plants matter, which weather windows are worth interrupting a Labor Board job for, and which fields still hide missing entries after each Weeding Exam unlock. This guide covers completing the journal, hunting golden weeds, reading rain / meteor / rainbow / night mutation windows, tying journal progress to exams, and managing bag space so collection never tanks your sell loop.
Sharpen pull timing in How to Weed before you chase rares. Field gates live in Weeding Exam. Weather value rankings sit on Mutations Tier List. Browse every tutorial from the Guides Hub, redeem coupons on Codes, and watch patch notes on Updates when species tables shift.
What the Weed Journal is for
Treat the journal as both a checklist and a study sheet:
- Checklist: every common, uncommon, mutation, and golden entry you still need.
- Study sheet: visual memory for exam prep and for spotting high-value plants in crowded green zones.
Players who ignore the journal eventually farm “green stuff” forever. Players who open it after every new field unlock notice patterns faster—especially in example zones such as Clover Meadow and Resting Place, where pin density and plant mix feel different once your license allows deeper routes.
You do not need a finished journal to sell yen. You do need journal awareness if you want golden weeds and weather variants to stop looking like random luck.
Completing the journal without stalling progression
A healthy completion plan rides the same loop as normal play: Labor Board job → pink pin in a legal green zone → ★ PERFECT pulls → Grass stall sell → next job. Insert journal goals as targeted samples, not as a full stop to the economy.
Session template for collectors
- Redeem coupons via Settings → Coupon (Codes) so rewards do not sit unused.
- Sell junk weeds until you have free bag slots for new species.
- Take a Labor Board job in a field that still has journal gaps.
- Finish the pink pin first, then spend leftover bag space on unfamiliar plants.
- Log new finds immediately so you do not forget which zone produced them.
- Sell again; only then decorate or snack if yen remains above your next exam fee.
This keeps collection honest: every “new leaf” still travels through the Grass stall when you are done studying it.
Golden weeds: interrupt rules that protect value
Golden weeds are highlight journal entries and highlight yen moments. When one appears:
- Stop vacuuming filler grass.
- Confirm you have a free bag slot—sell first if you are full.
- Take a calm ★ PERFECT attempt instead of panic mashing.
- Log the find in the Weed Journal.
- Secure or sell before you AFK, chat in the plaza, or hop a tandem bike across the map.
Do not postpone every Weeding Exam rank forever while camping starter grass for goldens. Higher grades unlock wider fields; many collectors finish golden lines faster after a license than before it. Use goldens as bonuses inside a grade roadmap, not as a reason to freeze Grade 5→1 progress.
Weather windows: rain, meteor showers, rainbows, night
Weather is a journal multiplier. When rain, meteor showers, rainbows, or night mutations roll in, change priorities:
| Window | Collector habit |
|---|---|
| Rain | Clear bag space, move to a legal field, favor Perfect pulls on unfamiliar wet variants |
| Meteor showers | Treat as a short spotlight—reposition fast (bike helps), avoid full-bag panic |
| Rainbows | Scan for standout colors before finishing low-value filler |
| Night | Slow your eyes; night variants are easy to walk past if you only chase pink pins |
Cross-check community ranking notes on Mutations Tier List, but remember: a “S-tier” weather still needs empty bag slots and a legal green zone. Locked fields waste windows. If a patch changes mutation behavior, confirm on Updates before you blame RNG.
Pair weather hunts with village support when yen allows—short ramen or takoyaki before a window, or a hot bath as a session reset—so focus stays high while the sky is doing interesting things. Buff details live with the broader village systems; keep journal goals first during the actual timer.
How the journal ties to Weeding Exams
Exam grades from 5 down to 1 unlock fields. Each unlock is a journal milestone:
- Walk the new border once without filling the bag.
- Note plants that look new compared with starter grass.
- Run two Labor Board jobs in the new zone to learn pink-pin placement.
- Deliberately sample two or three unfamiliar weeds for journal slots.
- Only then settle into a yen route.
Journal gaps after a rank-up are normal. What is not normal is returning to an old pocket forever because it “feels safe.” Clover Meadow–style open grass and quieter Resting Place–style pockets teach different spawn reads; use both once your license allows them. Full rank strategy stays on Weeding Exam; this page only insists that every pass includes a logging pass.
Bag management while collecting
Collection fails most often because the bag is treated like a museum. Keep these rules:
- Reserve slots for unknowns and goldens. Commons you already logged can sell earlier.
- Never meet a golden or mutation weed at capacity. Mid-pull discoveries with a full bag are how rares escape—especially with weed-stealing monsters active in the field.
- Sell on a schedule, not only at panic capacity. Many players cash out around two-thirds full so walks to the Grass stall stay short.
- Separate “study holds” from “sell stacks.” If you are comparing two similar species for the journal, hold them briefly, log, then sell. Do not AFK with a backpack full of research.
- Watch monsters. Footage and live play show creatures that steal weeds. A rare sitting in a contested patch is not safe until it is in your bag—or sold. Clear space, pull clean, leave.
Bag discipline is the same skill taught in How to Weed; collectors simply apply it with stricter slot priorities.
Labor Board jobs as journal routes
Board tickets are not the enemy of completion—they are free pathing. A job sends you to a pink pin inside a green zone you can legally work. Use that forced travel:
- Finish the pin for yen and job credit.
- Sweep a short radius for journal gaps.
- Bike to the stall if the walk is long.
- Pick the next ticket in a different under-logged field when possible.
In servers with up to 14 players, popular pins get crowded. Give space after your job tick, and do not camp someone else’s golden attempt. Cozy collection still needs manners.
Coupons, yen, and “permission” to collect
Redeem CHIIKAWA, PAJAMA, and THANKS100 through Settings → Coupon when they work for your account (Codes. Coupons reduce the guilt of spending a session on journal gaps because free rewards offset food or bath costs. Still keep exam fees sacred: a prettier journal page does not unlock the next meadow.
If yen is tight, run a pure sell block first, bank the next license cost, then spend twenty minutes on missing species. Collection after a funded exam plan feels better than collection that delays Grade progress for a week.
Practical completion roadmap
Early (Grade 5–4): Log every common in starter green zones. Practice Perfect timing. Do not stress incomplete goldens yet.
Mid (Grade 3–2): After each unlock, schedule weather watches. Prioritize mutation variants you lack. Revisit Clover Meadow and Resting Place style pockets with fresh eyes.
Late (Grade 1 and polish): Hunt remaining goldens with empty bags, bike repositioning, and buffed focus. Use plaza or village breaks between windows so you do not burn out staring at grass.
Across all stages, reopen the journal after patches listed on Updates in case new species or weather rules appear.
Common journal mistakes
- Farming with a full bag during rain or rainbow weather
- Skipping exam ranks to “finish” a starter-field checklist that cannot spawn late species
- Ignoring monsters until a golden disappears mid-emote
- Holding duplicates for no reason while missing slots for new leaves
- Never opening the journal after a field unlock
- Treating Labor Board jobs as pure annoyance instead of free travel to under-logged zones
Related guides
Pull skill stays in How to Weed. License gates stay in Weeding Exam. Mutation priorities stay on Mutations Tier List. For the full tutorial map use the Guides Hub; for coupons use Codes; for live changes use Updates.
Open the Weed Journal after every sell streak that felt “lucky.” Luck is usually a species you can learn to recognize—and a bag slot you remembered to keep empty.
Frequently Asked Questions
Quick answers for Chiikawa Weeding Tycoon players.
Do I need a complete Weed Journal to earn yen in Chiikawa Weeding Tycoon?
No. Yen still comes from Labor Board jobs, Perfect pulls, and Grass stall sales. The journal helps you spot valuable species, goldens, and weather variants faster.
When should I interrupt a job for a golden weed?
As soon as you have a free bag slot. Pause junk pulls, attempt a calm ★ PERFECT, log the entry, then finish the pink-pin job route.
How do rain, meteor, rainbow, and night help the journal?
They are mutation windows that can change which weeds appear. Clear bag space, farm a legal green zone, and prioritize unfamiliar variants before the weather ends.
Should I delay Weeding Exams to finish the journal?
Usually no. Grades 5→1 unlock new fields that hold species starter grass may never show. Log gaps after each unlock instead of freezing ranks.
What bag habits help collectors most?
Keep slots free for unknowns and goldens, sell around two-thirds full, and never approach a rare weed at capacity—especially with weed-stealing monsters around.